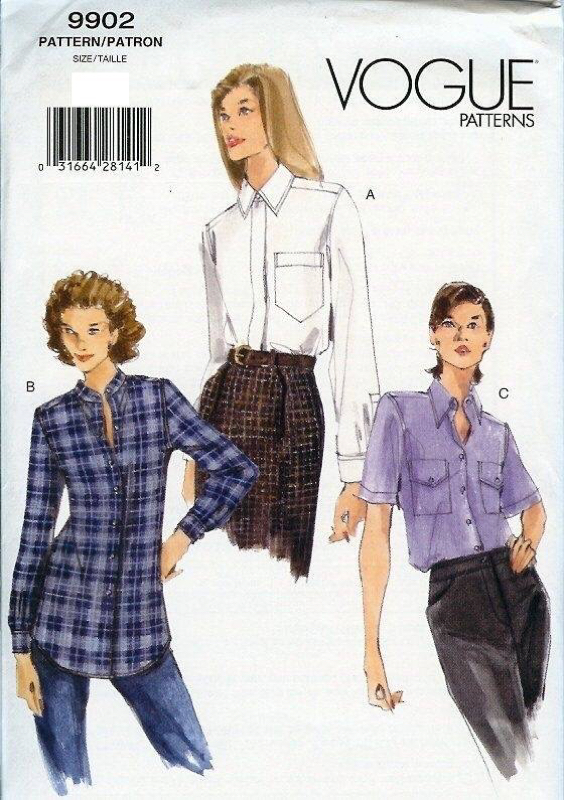
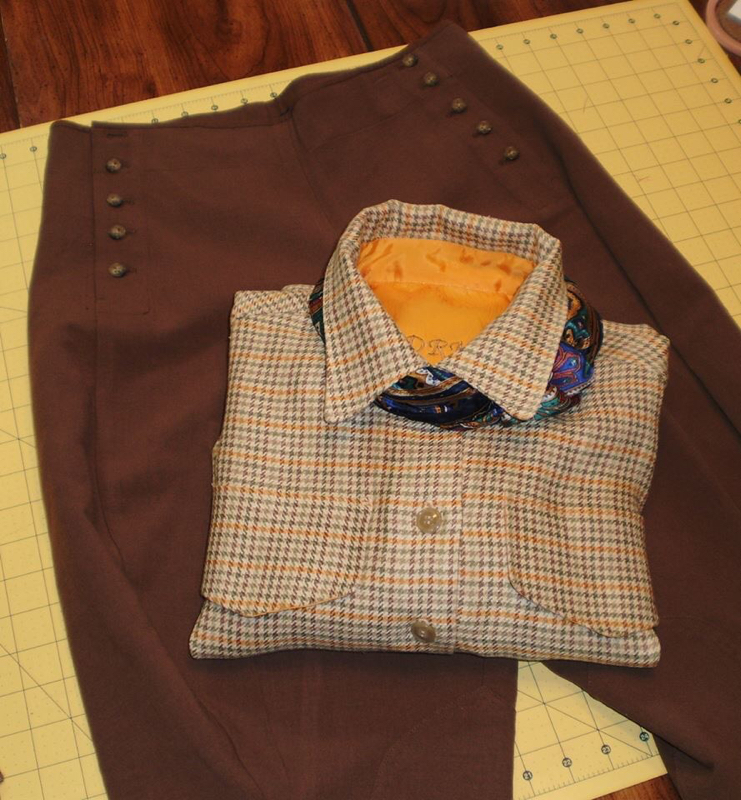
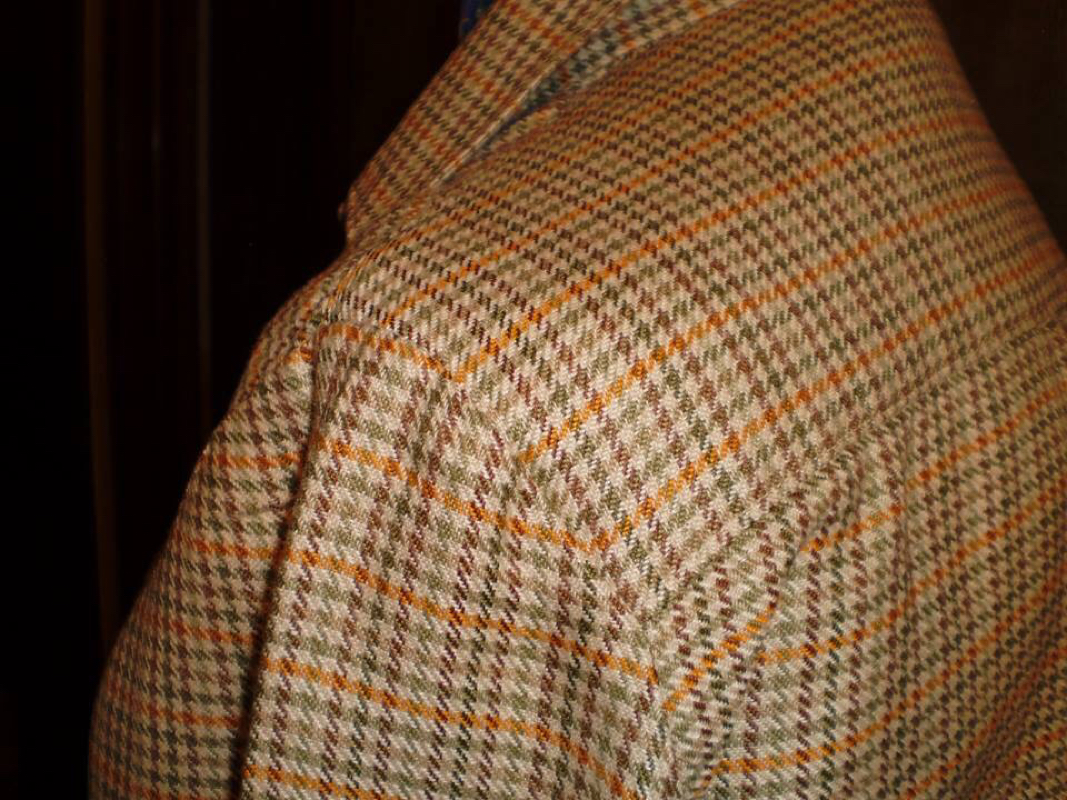
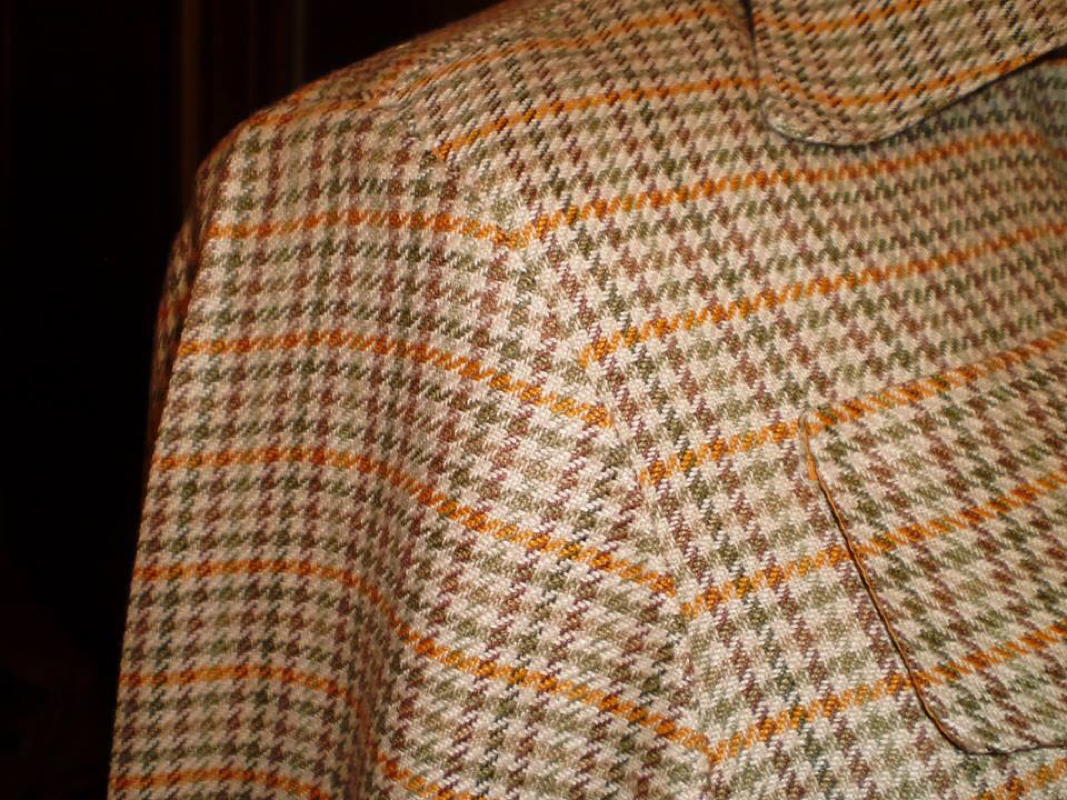
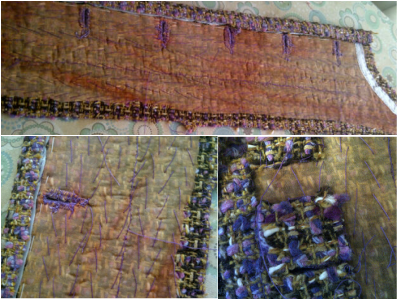
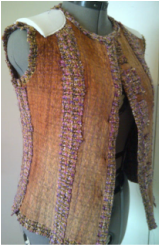
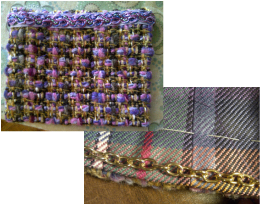
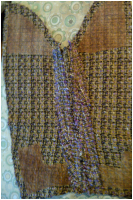
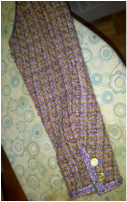
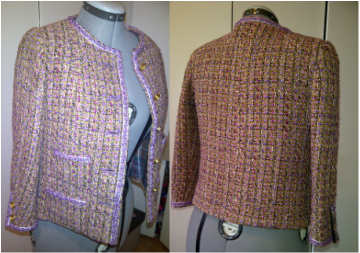
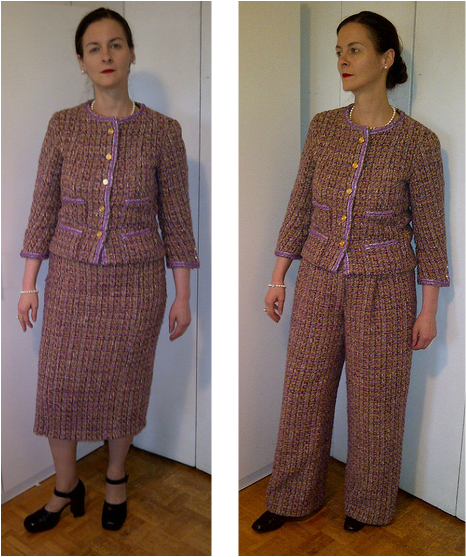
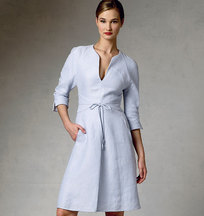
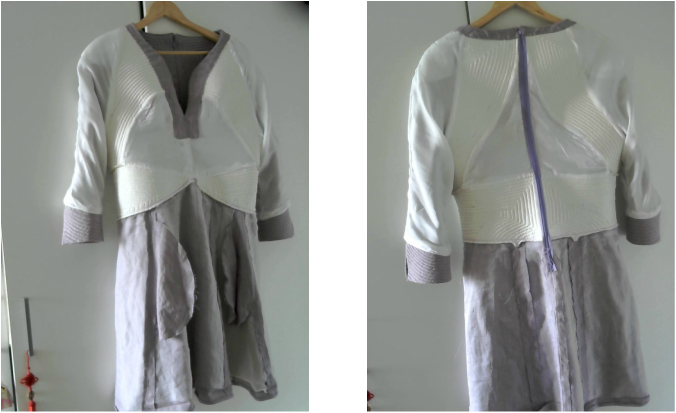
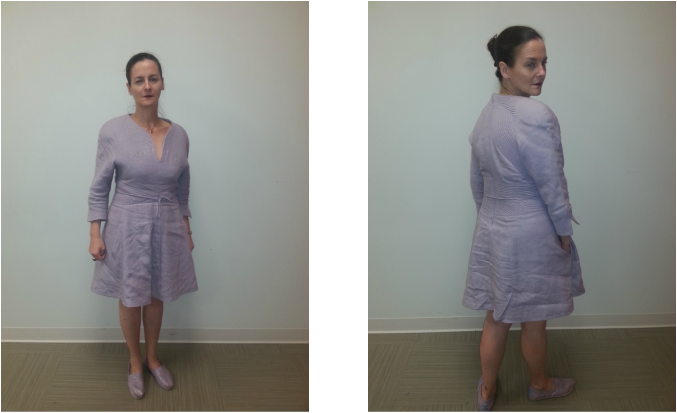
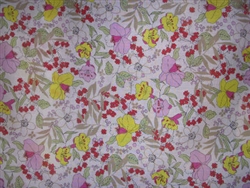
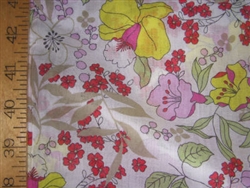
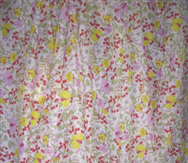
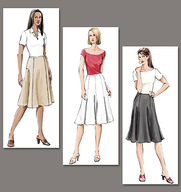
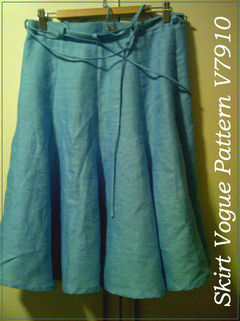
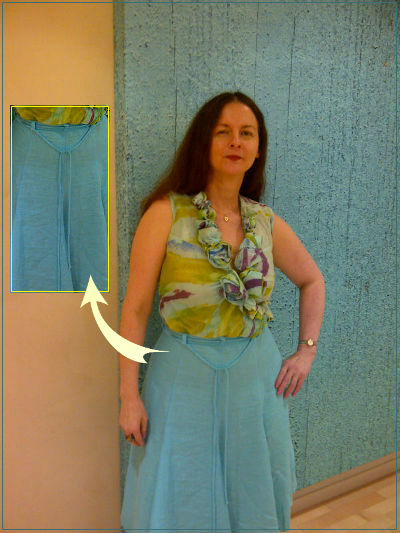
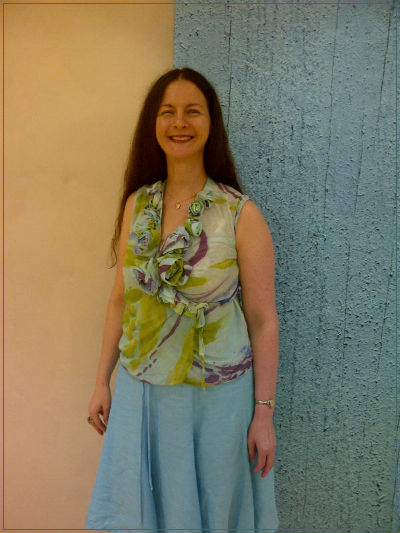
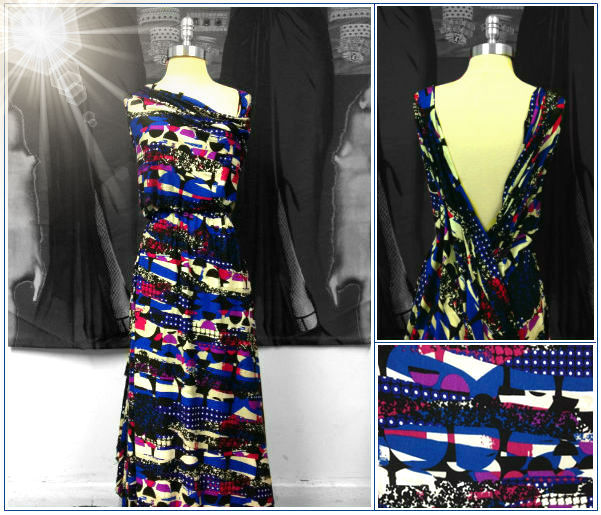
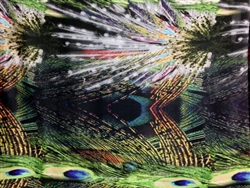
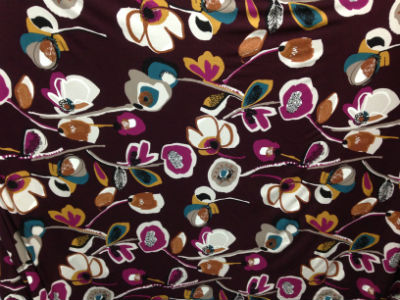
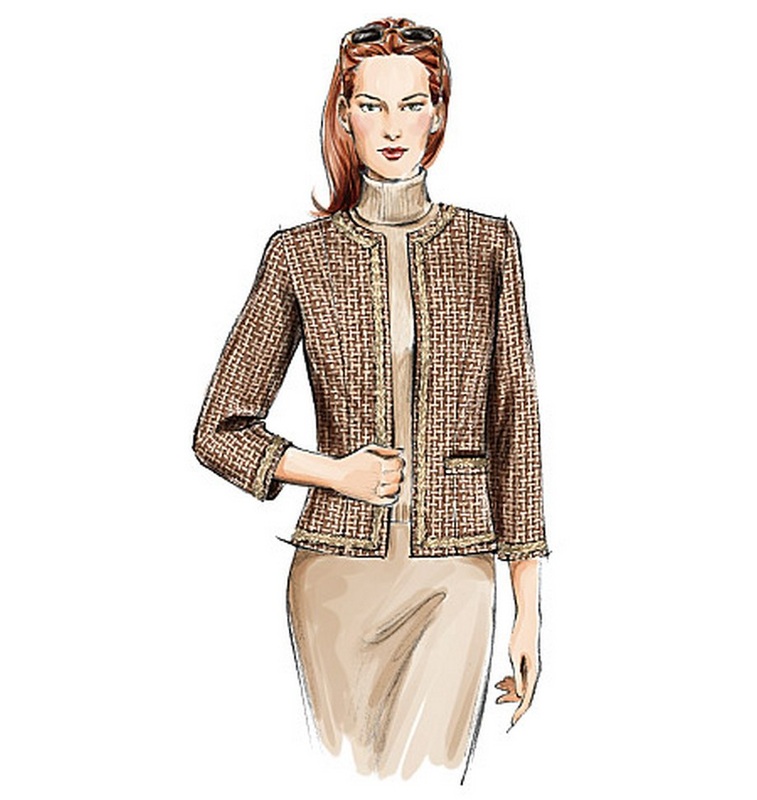
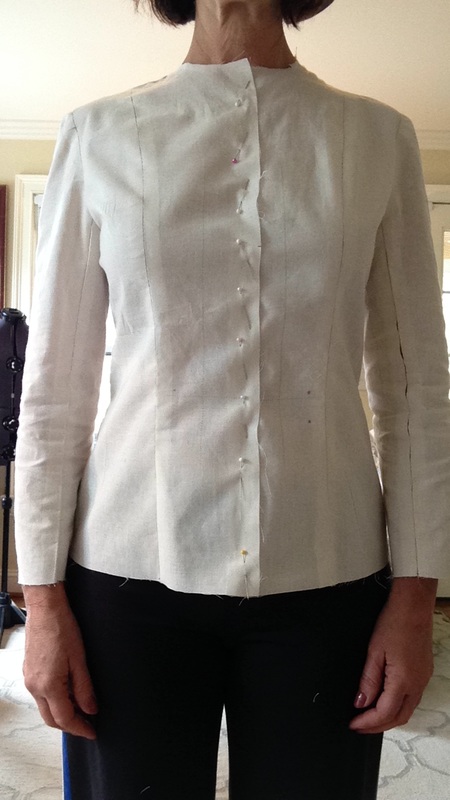
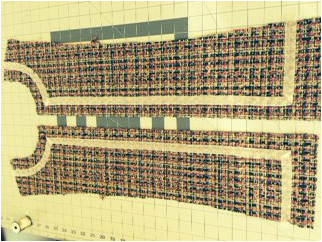
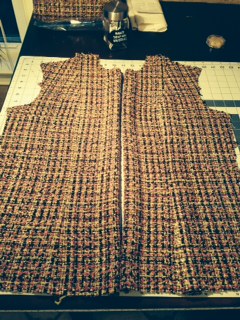
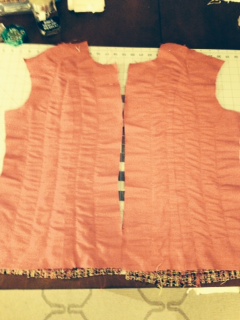
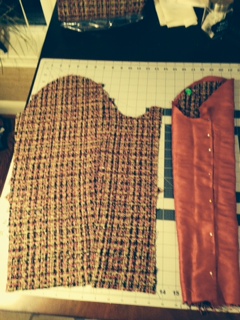
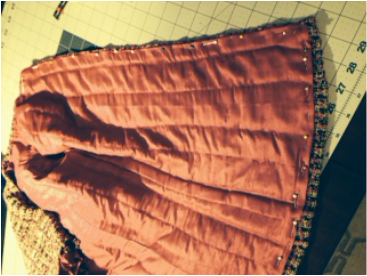
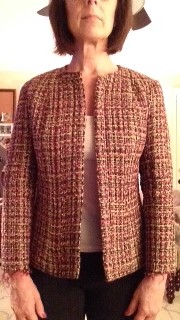
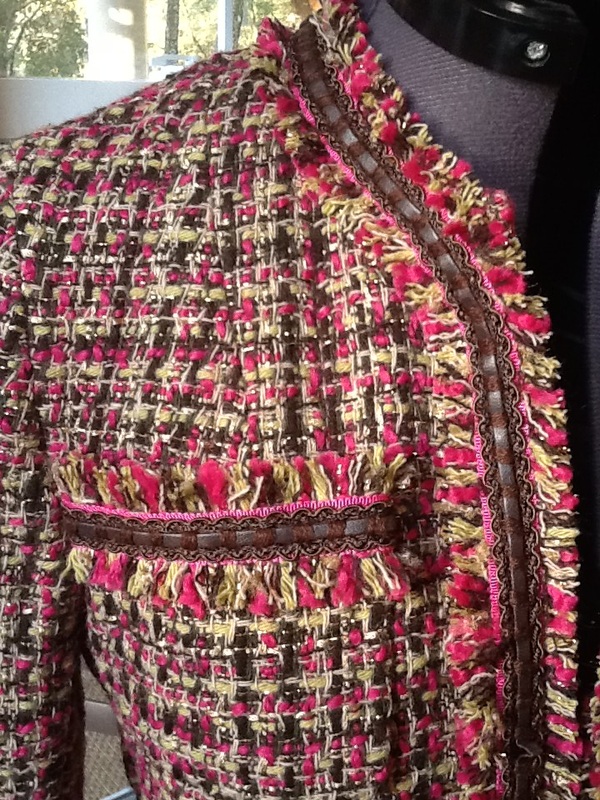
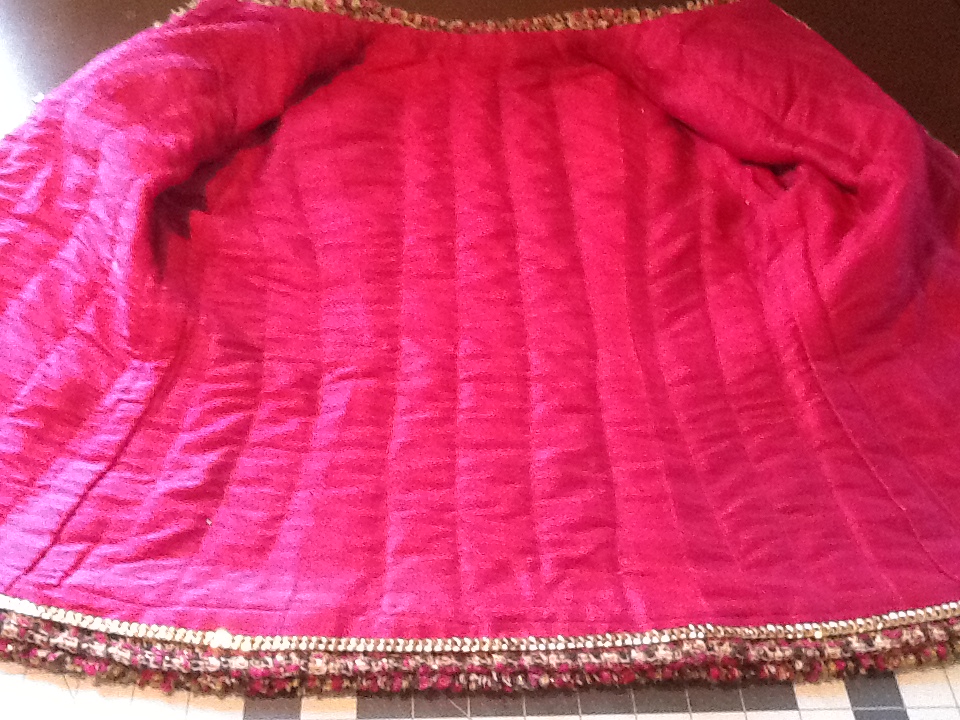
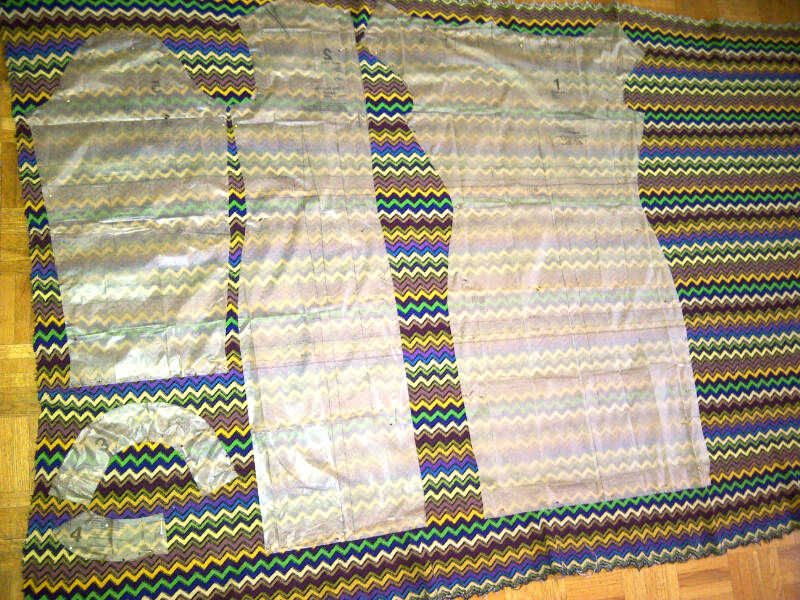
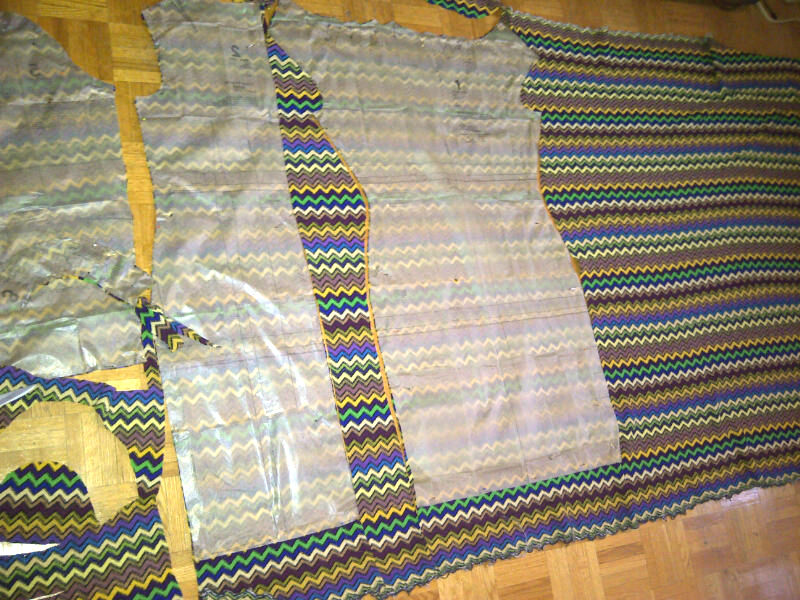
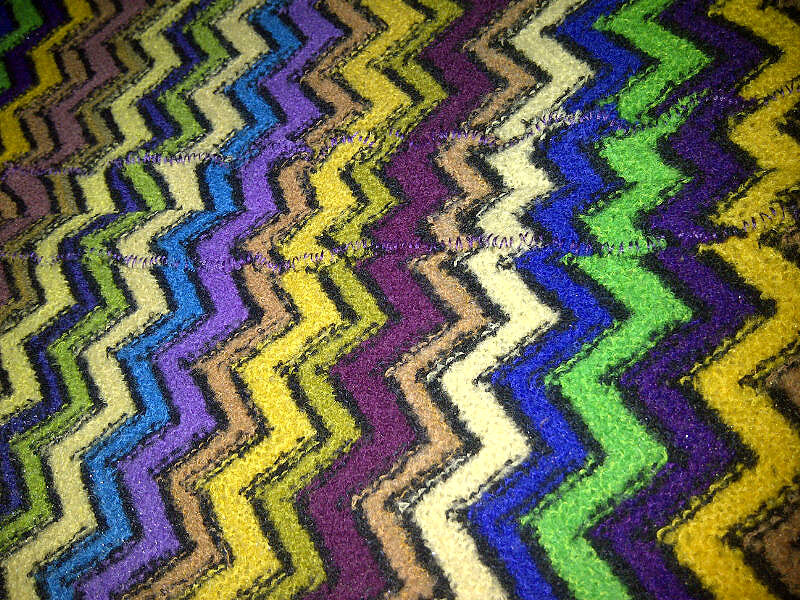
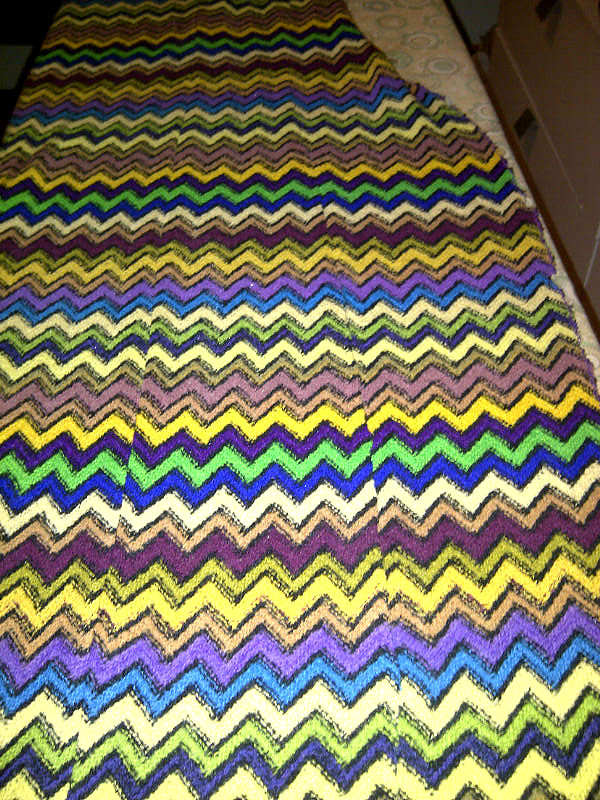
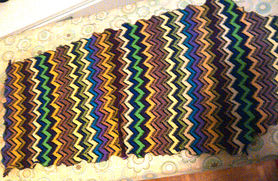
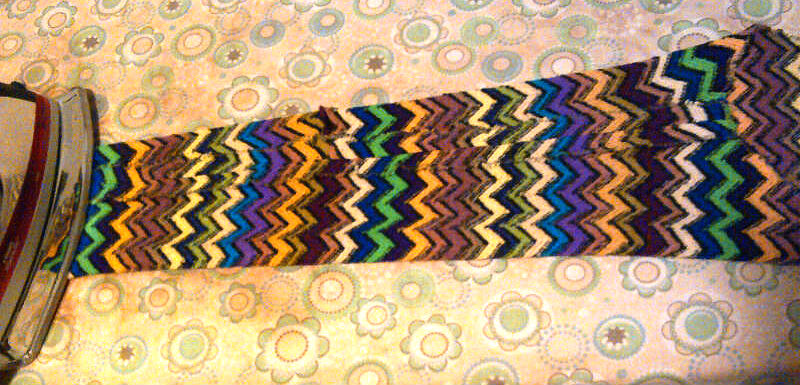
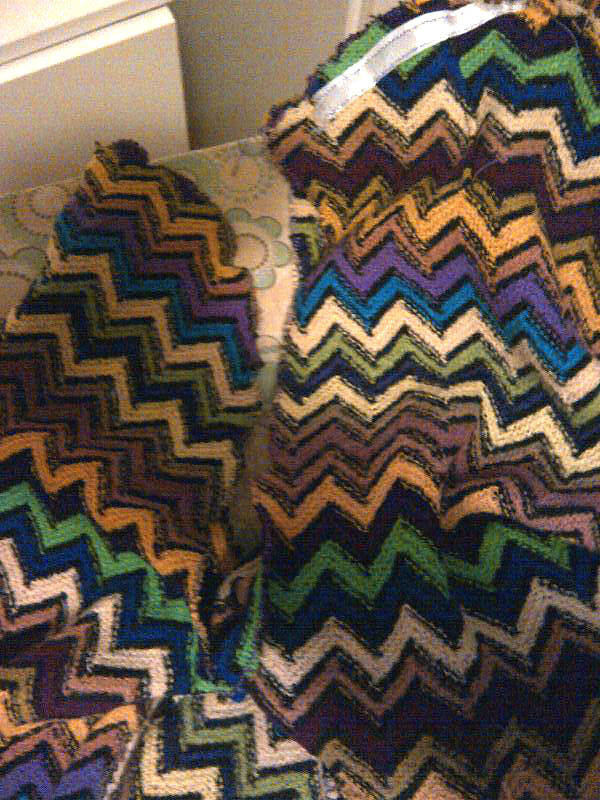
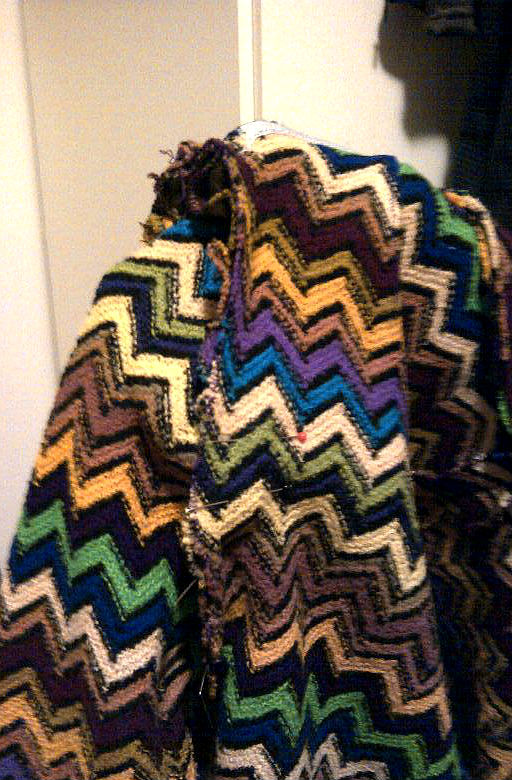
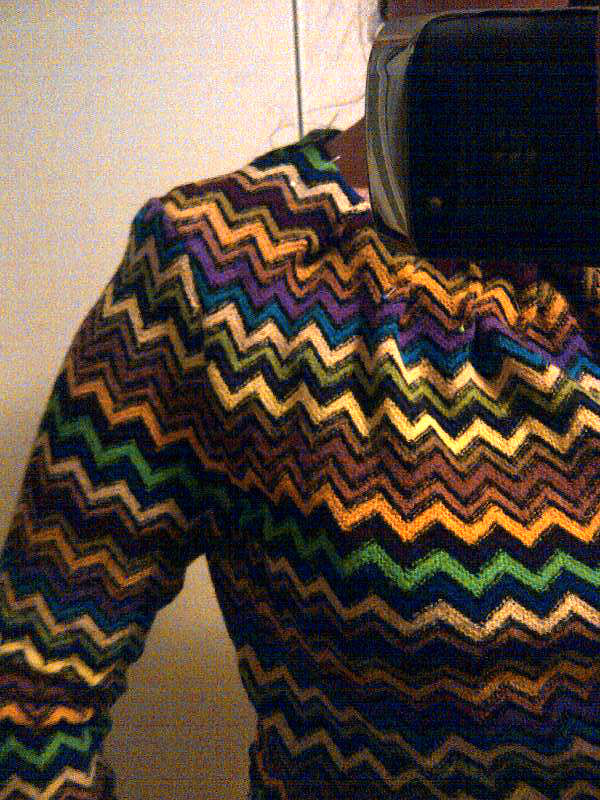
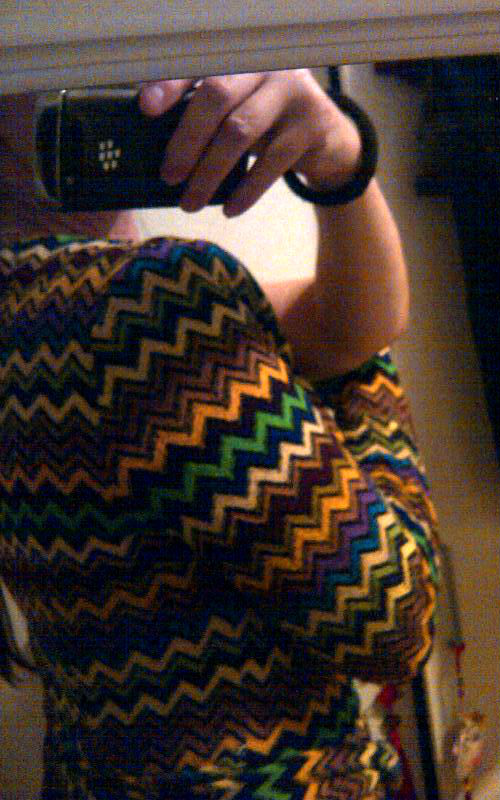
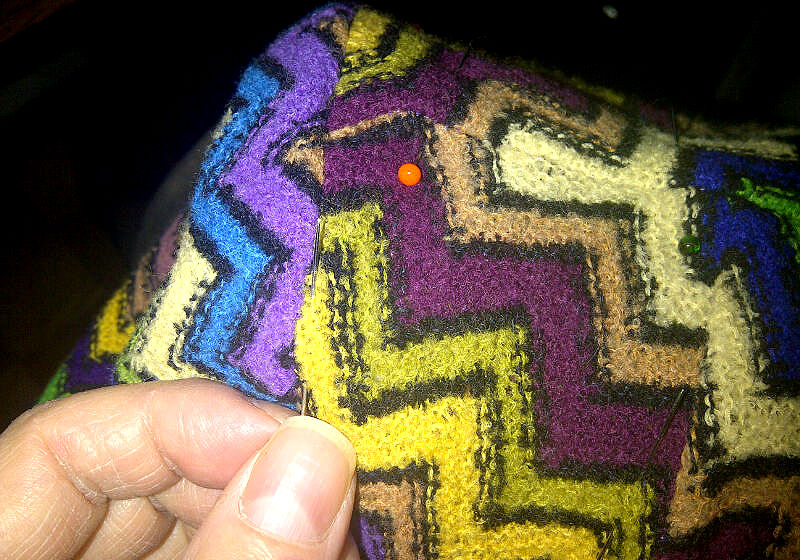
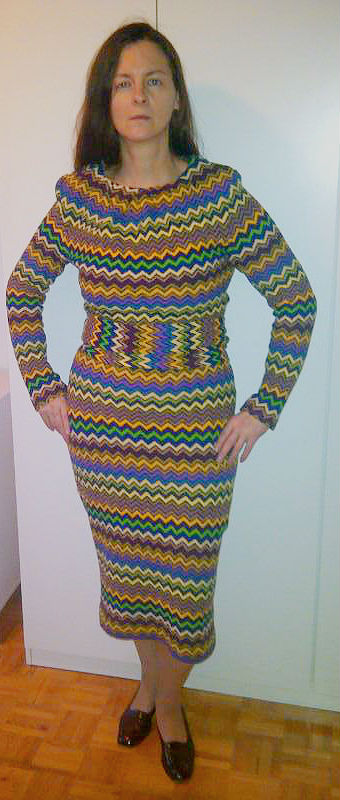
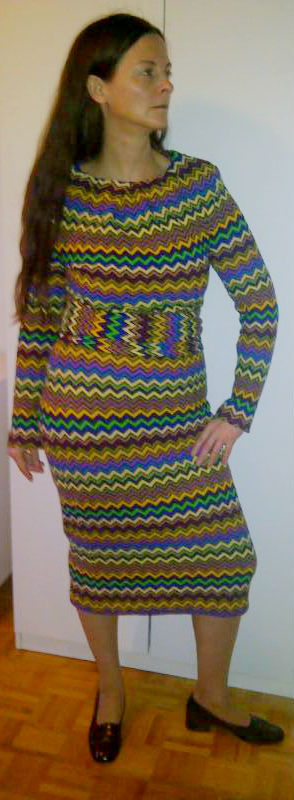
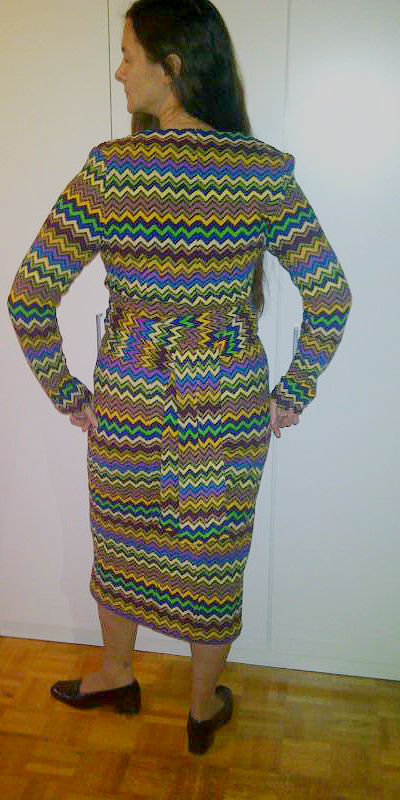
And here is another project from one of our FABRICLOVE GIVEAWAY Winners Deborah Merz. She made a beautiful "European look" shirt with Vogue 9902 pattern and of our Italian wool/cotton fabric.
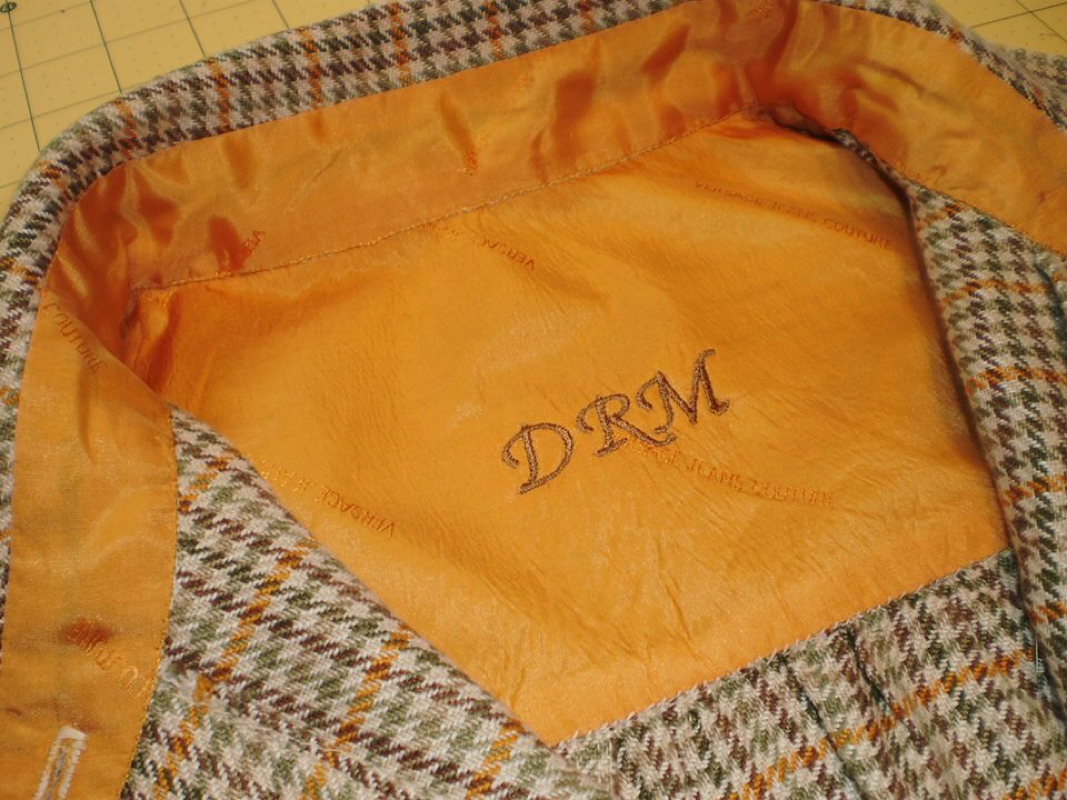
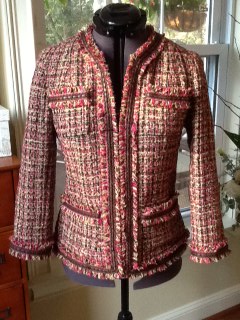
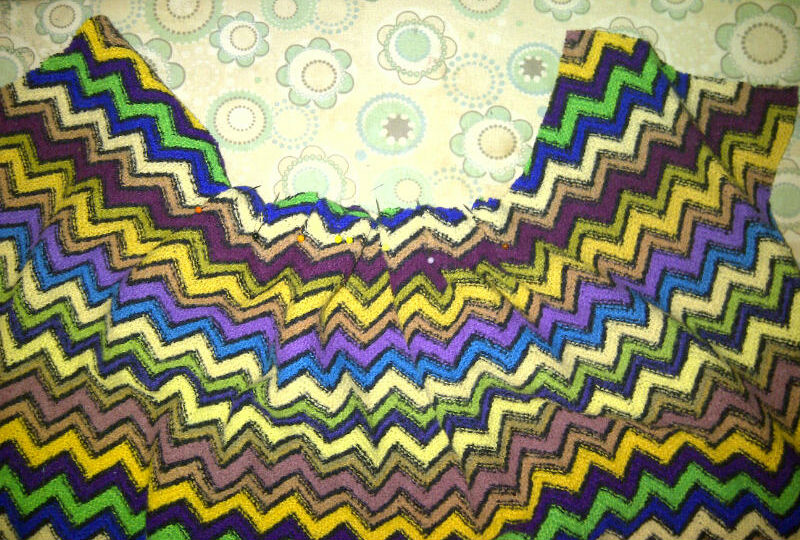
Deborah, having this pattern as basic design, does changes to suit her taste and needs. And...voilà... another stylish outfit doesn't make you wait too long.
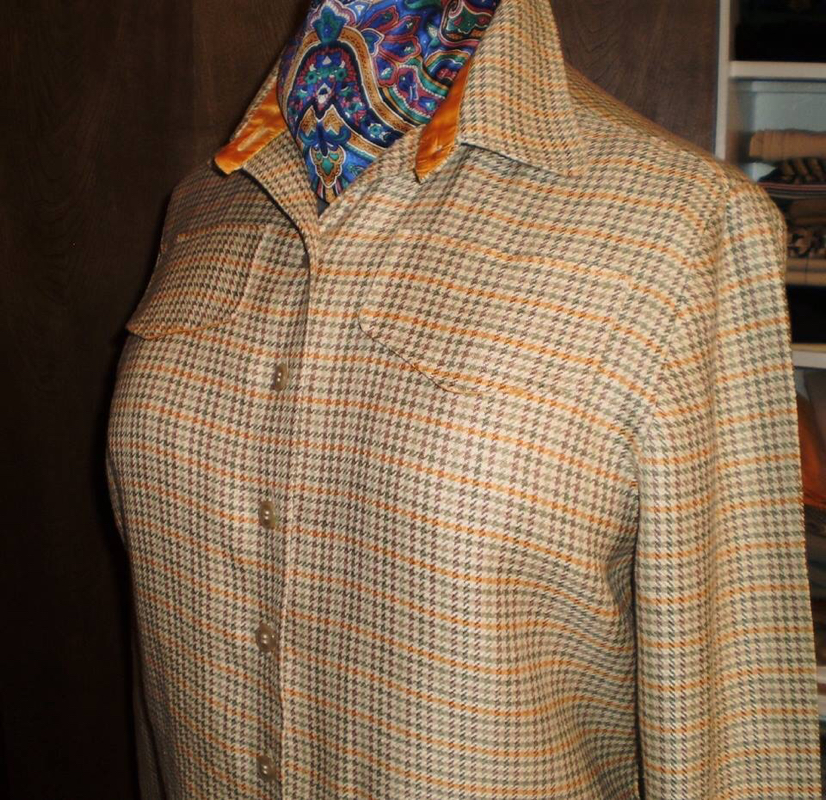
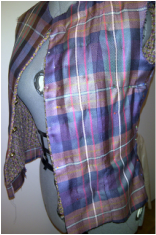
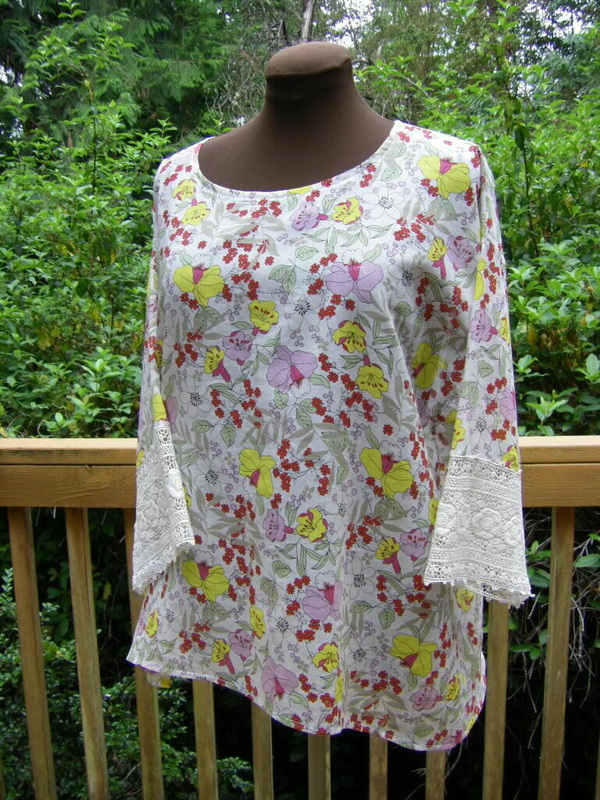
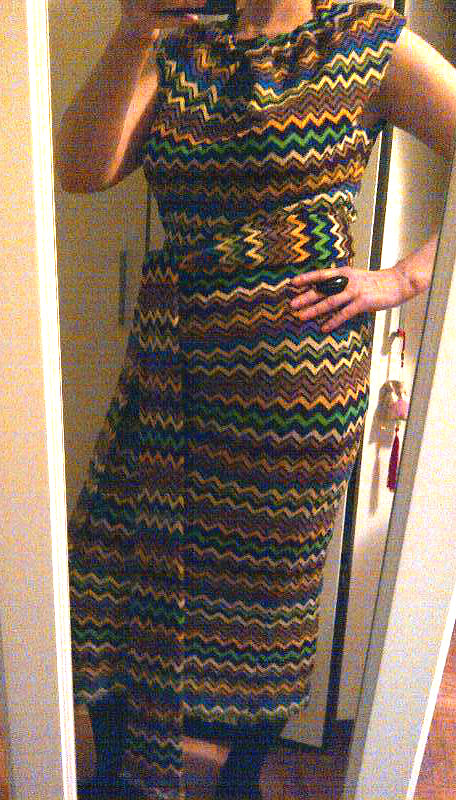
We find the shirt just marvelous. The neck scarf brings French chic detail and completes the look!
2 Comments
As mentioned before, the Chanel jacket is a classic wardrobe staple. While our previous tutorial was simplified for easy assembly, this pattern created by Claire Shaeffer is reproduced as it was in 1954 and is therefore a bit more advanced. Jennifer Byers takes us through Shaeffer's clear instructions, with a few alterations of her own, to create a Chanel jacket fit for Coco herself. Jennifer created her look using Chanel Wool Boucle from Elliott Berman Textiles, as well as a silk noile for her lining and silk organza for interlining the body and sleeve caps. The pattern does not call for an interlining, but Jennifer states that it gives the boucle more movement than a fusible interfacing would. The jacket body is made up of two front panels. two side panels, and two back panels. Jennifer interlines each panel with organza and then applies stay tape to keep the edges stiff and sharp. For the buttonholes Jennifer used a buttonhole twist thread that is waxed and pulled under an iron (this prevents snaring and chafing of the thread from the fabric). Buttonholes should be sewn with small, tight stitches close together. Though she says the pattern instructions are very clear, Jennifer adds that Claire's book Couture Sewing Techniques gives more detailed information if necessary. After the buttonholes are sewn, fake welts are hand tacked on to prevent irritation caused by the rough buttonhole backs. Under the armpits of both front panels, a stay to prevent gaping is created by steam shrinking in a dart. Again, Jennifer says the pattern provides detailed instructions for doing so. The stay is then covered by fabric, in this case it's covered by Jennifer's interlining. After the stays are created, the panels are hand stitched together to create the full body of the jacket. Jennifer chose to add shoulder pads that are not mentioned in the pattern. Next, the silk noile fabric is quilted to the jacket as the lining. This process is unusual for other garments, but Jennifer explains that it keeps the lining from shifting and allows it to move as one with the jacket. While the pattern instructs each panel to be lined and then assembled as you work, Jennifer opted to construct the jacket shell and lining in full and then pin and sew the lining to the shell. After the lining and shell are combined, the lining is steamed, shrunk, and pressed. Pattern instructions advise sewing grosgrain to the jacket following a guide pattern and subsequently attaching the decorative trim. Jennifer found this unnecessary for herself and simply combined the trim and ribbon before applying them to the fabric, taking care to miter the corners for a high-quality look. Afterwards, the signature Chanel chain is attached the jacket's inner edge to assure it falls and hangs properly. The four exterior pockets are created by hand overcasting the fabric's edges, then folding them in and pressing. Mitering the corners prevents unwanted bulk. After attaching the lining and trim, the pockets are sewn onto the front panels. A big thank you to Jennifer for sharing her knowledge and skills with us! As always, the final product looks absolutely amazing. Her jacket is a perfect example of class and timeless style. Due to the complexity of creating this garment, our post is a somewhat abridged tutorial. Click here to see Jennifer's in depth and fully detailed process. Once again Jennifer Byers impresses us with her garment construction skills. This time Jennifer has made an amazing dress from Elliott Berman Textiles' lilac solid linen. An advanced project, the dress is lined with yokes and features a skirt with a one-way front pleat and side front pockets! The close-fitting bodice is accentuated by impeccable seam details, two-piece sleeves, and an attached belt. The beauty of this dress is that it will flatter several different body types and the lightweight fabric makes for a comfortable, breezy wear, which is perfect for the changing autumn weather! Jennifer says the inside is "quite a construction do!" Thank you Jennifer for another wonderful contribution! The dress looks phenomenal and we're loving the matching shoes!
It is summer: sun, vacation, trips to a beach, and other fun time with family and friends! But it seems that despite your busy fun activity schedule, you still have some time to sew. Surely, summer is so inspiring! It gives you lots of ideas for easy-and-simple patterns sewing projects. And to prove it we would like to introduce another sewing project by Mary Brown. Mary used Simplicity Pattern 1622 to make this fabulous tunic made of our Printed Voile Cotton from France. She used only a yard of the fabric and had an absolutely creative idea to decorate the tunic sleeves with a piece of vintage lace crochet from her stash! We agree that lace crochet on the sleeves gives the tunic some individuality. Besides, Mary is not just our EBT friend but our Fan Page follower! She WON this fabric in our Fabriclove Giveaway that we announce every Thursday. So follow us on Facebook for a chance to win some exclusive fabrics! Mary: "Thanks for the fabric! I love the top" Thank you, Mary, for sharing your sewing project and inspiring others!
The skirt is very flattering! Jennifer looks absolutely stunning in it! Besides, this linen skirt flutters nicely in the breeze! For those who didn't know here is some interesting fact about linen: it does not hold body heat and is absorbent! Our online collection of fabrics have just been updated and will surprise you with prints and colors, though still there are more to come! All of them are just for summer, in day or night, in heat or with breeze! Many beautiful sewing gals will agree that in summer we can allow ourselves anything. Let’s not be picky! What about color? Well, it always depends on our mood, doesn’t it? We may prepare some outfit from a night before to save a few minutes in the morning, but once we wake up, the mood decides it all and we might dig into our wardrobe again. Then what about the length? Mini, midi or maxi? It depends again, but some gals just love maxi, whether it is a skirt or dress. And as we are not an exception, we decided to give an idea for a maxi dress with one of our new viscose knits. Our personal fashion designer, Santia Cadet, presents a stunning maxi dress with asymmetric cowl neck, gathering at the waistline, pleated cut-out back and slight A-line bottom. Its simple design, though with some original accents, can be complemented by a cropped leather jacket for a colder night-out, can be worn with both heels and flats. So we find it fantastic!
What could be more classic than a famous Chanel jacket! No matter what level of expert you are, sewing it will put some pressure on your shoulders, as Chanel jacket does not tolerate mistakes and your own desire to reach perfection and authentication requires a lot of precision. And today we'd like to share a sewing project by Julie Starr: CHANEL JACKET with Vogue 7975 Pattern. Julie used our Italian Wool Boucle from Chanel and, it seems, she enjoyed working with this fabric. Julie did not follow the Vogue Patterns instructions and eliminated all facing pieces, using instead the couture sewing techniques of quilting silk dupioni lining to each piece and lining the jacket to the edge. Besides, she shares a step-by-step process of making a Chanel jacket:
Step 4. The front and side front pieces are joined (the back and side backs are similarly joined) before the lining is quilted to each section separately; silk dupioni lining sections must be joined in the same manner as the shell fabric, then machine quilted to the boucle in rows approximately 1-1/2 " apart. The fabric's vertical check pattern is used as a guide.
Step 8. Now it's the time when we add the "frosting"! A three piece trim is assembled by first cutting strips of the boucle fabric, next layering raspberry hued petersham ribbon, followed by brown braid with a faux leather center strip. The boucle is fringed to the edge of the petersham. Upper and lower pockets must be trimmed and hand stitched to the jacket and trim should be applied by hand to all outer edges. Julie shares: "Having never sewn using these techniques before, I went into this project with no preconceived notions as to whether I would enjoy a process so painstaking or become thoroughly frustrated with it. What I learned is that it is highly addictive and that I now want to learn more and sew better. If sewing relaxed me before, I found this style of it to be almost trance-inducing. Hour after hour would fly by before I realized it, with Pandora's "French cafe" music channel lending a bit of atmosphere. I am very much a fan of Adriana Trigiani's trilogy of "Valentine" books in which she describes her efforts to save her family's generations-old trade of hand crafted Italian couture wedding shoes and I'm reminded of similar themes of time honored techniques and respect for the materials. While sergers, double needles and Steam a Seam lite all have their place in modern day sewing, there is a truly "organic" feel to making a garment in this way" It is not a secret that such fabric as scuba aka neoprene is no longer for divers' pleasure only.This fabric is in fashion now and will be probably for quite a long time as the European mills found the way of using such an industrial fabric in fashion, giving it softness and drape, lighter weight and eye-catching colors and prints. If you are just about to get to know Mr.Neoprene, no worries! Neoprene fabric is of different qualities, and as you might have guessed by now, Italian and French scuba is the best match for sewing something original and gorgeous without having a headache. We have just got a couple of neoprene fabrics and one of them you can see our website. You may ask about special techniques on sewing with neoprene and here is what you have to know, beginning with the definition of the very same fabric:
Overlock: The overlock stitch is the easiest, least expensive stitch. It is very durable but when used on a garment may cause discomfort due to the ridges left on the inside. (see edging below to soften ridges) Flatlock: The flatlock seam provides both durability and comfort. This technique requires taping to hold out leakage from the seam holes. Gluing the joint adds additional strength. A double stitch will provide a much stronger hold than the single stitch. Needle: You will have better results using a large needle such as a Universal 16 or 18. The smaller needles will not make a large enough hole to allow the thread to pass through easily. Neoprene is sewn best with longer stitches which depend on the neoprene thickness and your sewing machine. Experiment with stitches until you get the results you want. Your needle will heat up with the friction of sewing through the thicker neoprene so go slow to avoid melting your thread.
Taping: The pieces are glued or sewn, then a heat sealable tape is applied across the seam. This method insures a waterproof seam. Use a Melco or Bemis seam seal tape, preferably meant for sealing against nylon tricot fabrics. You'll really want to experiment with scrap pieces here as getting the correct setting/time/pressure to get the tape to bind without damaging the nylon cover or neoprene foam. Edging: Add a strip of Lycra or fold-over elastic that has been folded in half around the rough side of the neoprene edge. This will create a non-chafing surface. The item on the right was sewn together with a flatlock and the raw edges finished with Lycra binding. If you have used an overlock stitch to join the neoprene edges then you may also want to “smooth” out the seam by taping a Lycra binding or elastic over the seam like this shown here.
We guess this information is more than enough to "Ready! Set! Go!" You can always read sewing blogs on sewing garments with scuba fabric and pick some special techniques of real pros!
Enjoy sewing neoprene! With Fabriclove, Elliott Berman Textiles We are thrilled to present another sewing project by Jennifer Byers. And this time her project has made us think of colors and classic styles. How many of you have thought of adding bright colors to your wardrobe but fear of wearing same colors makes us step backward and adore brightness and vivid looks from aside? As Jennifer says in defense of us, lovers of dark tones and shades, she finds there is a beauty in the subtle colors that appeals to her, they don't hit one over the head and end the "visual conversation" but instead invite one to look more. The colorful stuff she has got so far, to her, worked because they were classics. And this is where Jennifer's sewing project comes to prove this point of view with our wonderful Missoni Wool Knit. And "Agreed!" we say. As you all know Missoni fabrics are famous for its zig-zag design and certainly unprecedented quality. So having one in your stash would sooner or later result in some finished garment. Jennifer decided to make a dress, which we find 'sew' Italian-looking.
To make the dress prettier and probably give it more individuality, Jennifer decided to hand-stitch a crocheted lace strip to the inside of the hem. The same crocheted strip of lace has been applied to the inside cuff. And her you can see the inside view of the finished hem. Swipe off drops of sweat, as of now the dress is completely finished and it is time for a cat walk! Jennifer looks simply fantastic in this Missoni dress and she is living La Dolce Vita!
Exploring the world of fashion and textiles cannot be more interesting if one has a chance to visit fabric stores, textile mills, fashion runways and special exhibits. And this time Elliott Berman Textiles could lose an opportunity to see an exhibit at the Brooklyn Museum "The Fashion World of Jean Paul Gaultier: From the Sidewalk to the Catwalk".
In one of the final portions of the exhibit is a giant room, containing looks in which Gaultier pulled inspiration from cultures and artists all over the world. Each garment shows off his capabilities to be diverse as well as his outstanding technique and haute couture craftsmanship. If you feel like jumping into the world of Jean-Paul Gaultier with all his creativity, artist's madness, illusion and love for fashion, leave all your projects going on and rush to the Brooklyn Museum as the exhibit will last till February 23, 2014 only.
|
FOLLOW US:
|